Buying a trampoline can be exciting, but assembling it can be a challenge. If you are a handyman and have some knowledge of how to assemble these types of equipment, then it should be easy; however, if you are completely clueless, then it may be worth reading this article. It’s important to remember that assembling anything, especially a trampoline, requires a lot of patience, whether you’re doing it alone or with others.
In many cases, the trampoline is purchased for recreational use and having children breathing down your neck can be stressful. Take a deep breath, grab some tools, and let this article provide you with some tips on how to set up a trampoline effectively.
Step #1: Checking The Box
The first step when purchasing any piece of equipment is to check the box. This means that you must determine whether all the parts are included and if any items are missing. Think about it. You can’t assemble something without all the parts, and you don’t want to be caught halfway through only to find you are missing a crucial piece. The basic items will be detailed in the package on an instruction sheet or the box itself. If something is missing, it is recommended you contact the manufacturer or return it to the store.
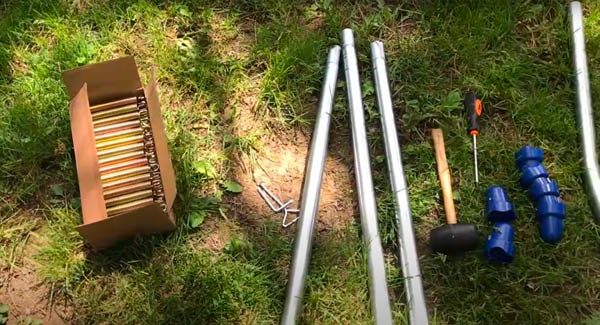
Once all the pieces have been checked, it is recommended that you lay the items out. This will help you gain an understanding of the size of the trampoline and determine the ideal position for the item. It will also assist in determining the position of the different pieces and sections as many sections look similar.
Step #2: Choosing The Tools

Trampolines are not like children’s dollhouses, where various parts require complex structures. Although, nowadays, dollhouses are also quite complex. Regardless, it is important to get together all the tools you need to assemble and install it. Again, you don’t want to get to a certain point in the assembly only to find that the tools you need are somewhere in your basement. The recommended tools for any trampoline assembly are a rubber hammer, an electric drill and a spring puller.
Step #3: Assembling The Frame

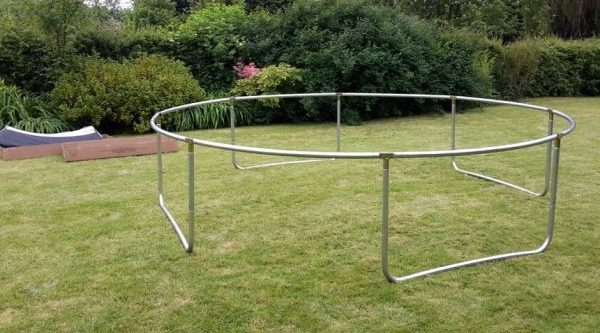
Once all items have been checked and gathered, it is time to assemble the frame. The first step is to consult the instructions included in the package. This is important because it will assist in determining how the frame will look once completed, as well as providing guidelines for assembling the sections. At this point, you will find yourself using the power drill regularly to screw in bolts.
Step #4: Attaching The Jumping Pad
To attach the jumping pad, you will require the use of a spring pulling device and a rubber mallet. Once again, it is vital that you check the specific instructions to determine how the springs must be aligned and the specific positions. The first few attachments of coils should be simple to complete as the canvas is not taught; however, as the number of coils attached increases the pad will tighten, and it will become more difficult. It is at this point that you should use the spring pulling device to hook the coil and hoist them into the designated spring slot.
Step #5: Assembling The Enclosure Net

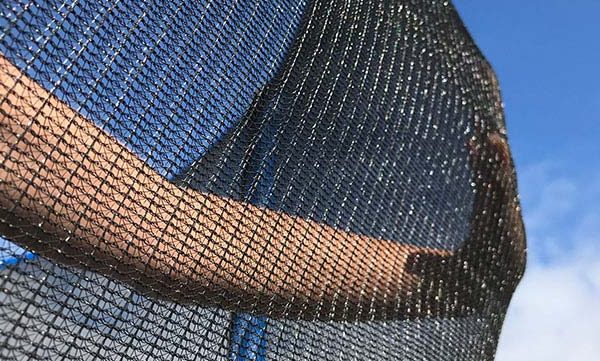
Assembling the enclosure net is a vitally important aspect of trampoline assembly. While it does not refer to the primary item, it is connected with the safety of trampoline use and will contribute to the safety of the user. This step is relatively simple as the enclosure net is attached to enclosure poles surrounding the trampoline. It is necessary for each pole to be covered by an enclosure pad as it is possible for the user to hit a pole and injure themselves. It must be noted that the assembly of an enclosure net is not relevant for trampoline packages without enclosure nets. Please check this detail when purchasing the item.
Final Words On The Matter
Trampolines can be a great deal of fun when used responsibly; however, they can be difficult to assemble. The above information will assist you with the correct assembly of any trampoline item with or without an enclosure net.